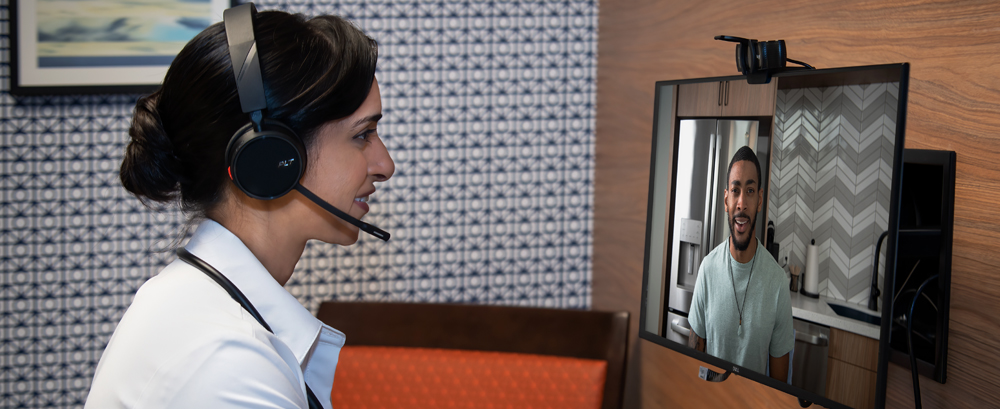
Virtual Care puts the convenience of treatment on your computer or smart device. This guide will take you through the virtual visit process step by step.
Virtual appointments require teleconferencing software and MyChart account registration. Before your appointment, make sure you have the needed software installed on your computer or smart device. Download and install the MyChart app and Zoom Cloud Meetings found in your App Store.

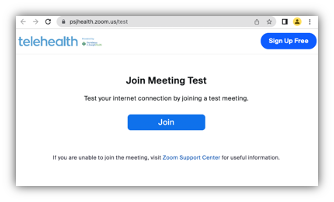
With the applications installed, test that they are working. Go to this MyChart test page and click on the green Test Audio/Video button, then click the “Join” button. This should open the Zoom app, ensuring that everything is working.
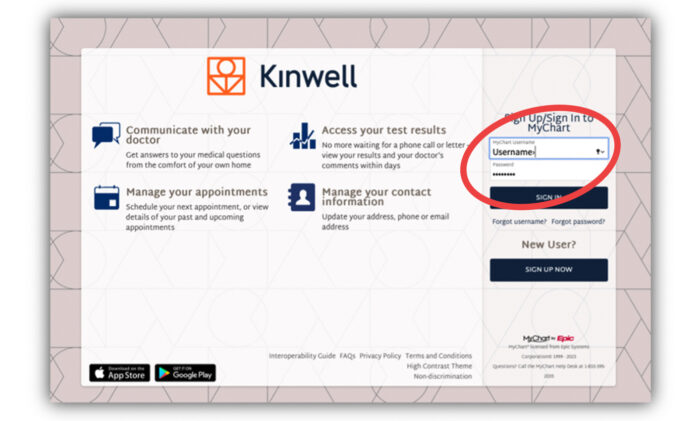
On the day of your appointment, sign in to your MyChart account.
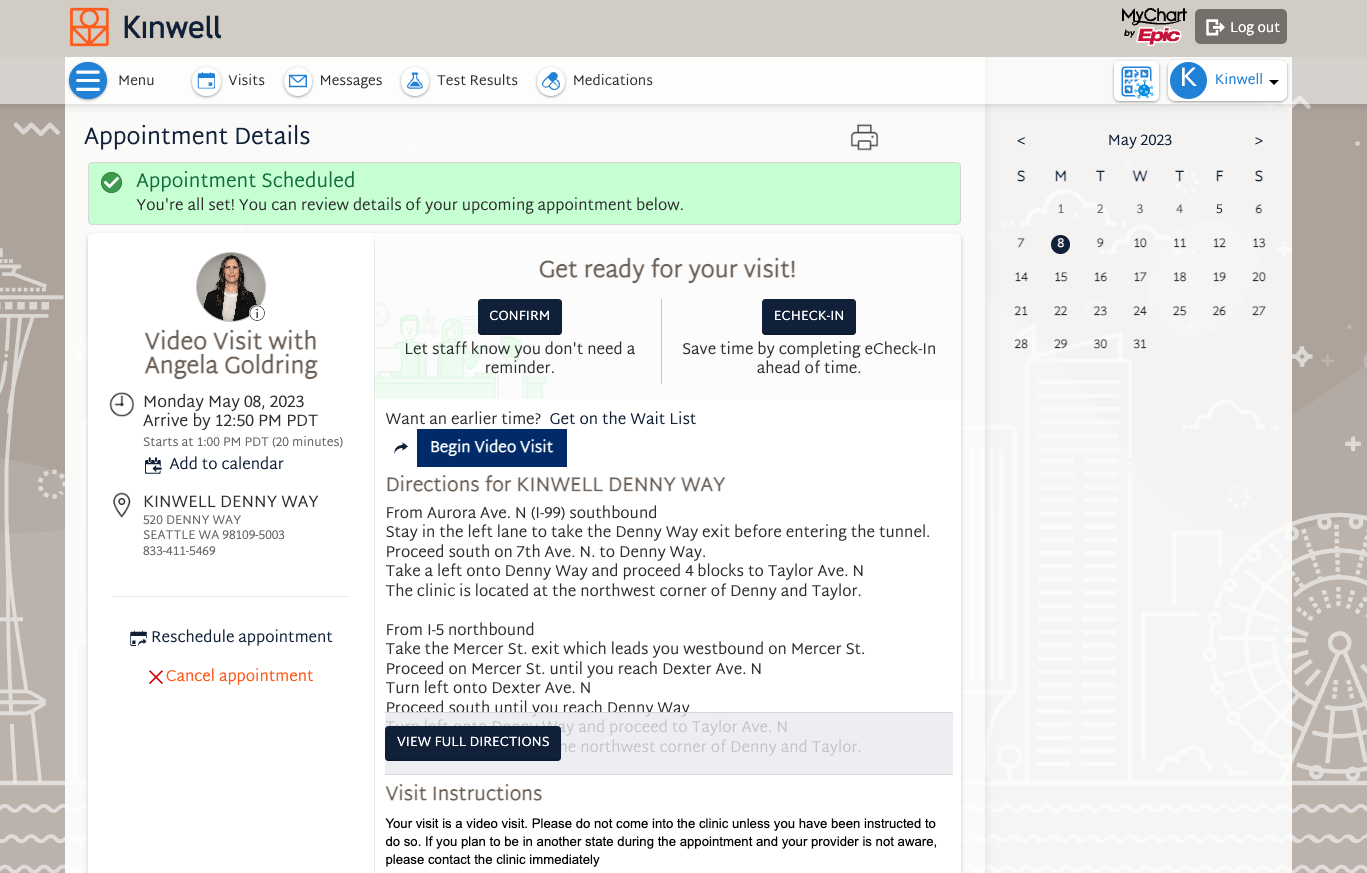
Click on the Visits tab of the main menu.
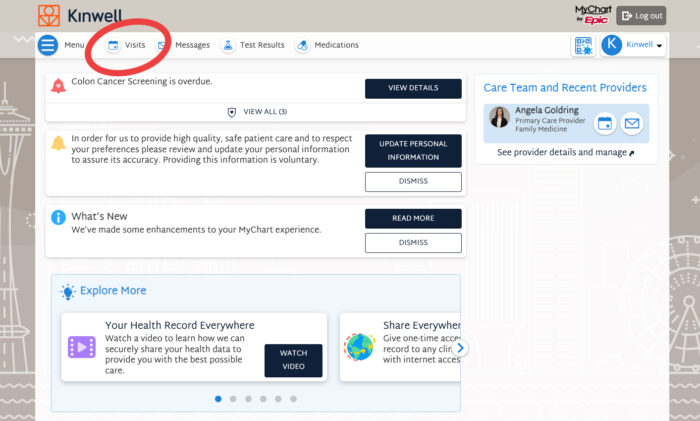
The date and time of your upcoming virtual appointment should be seen. Click View Details for more information. This is the same process you will use to access your upcoming appointment. At the appropriate time, click on the Begin Video Visit button to start your appointment.
If you haven’t already downloaded the Zoom app, click on the Download from App Store button. If you have the Zoom app installed, click on the Launch Meeting button and then the Open button.
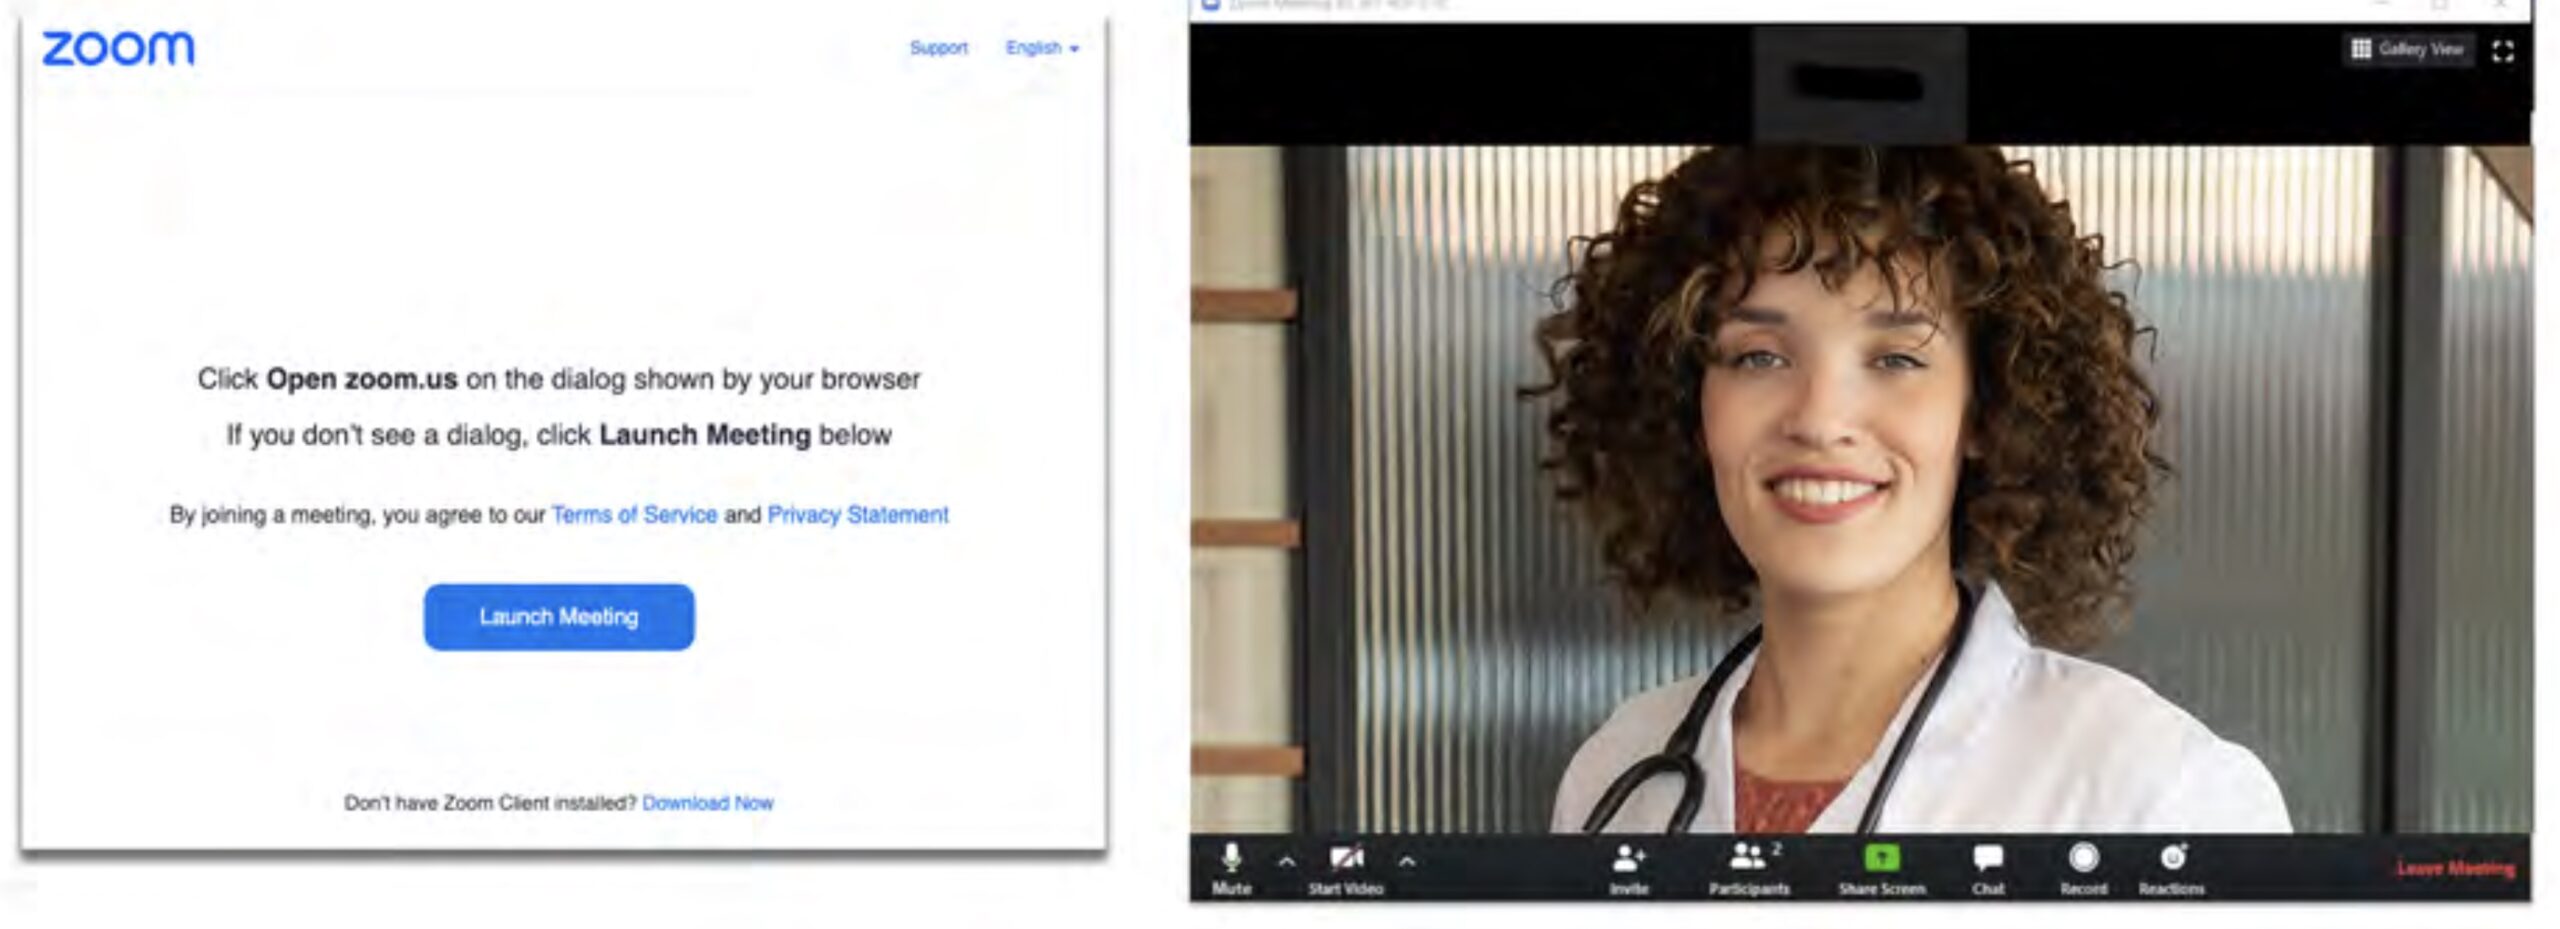
This will bring you into a virtual waiting room. When your clinician starts the meeting, you will have to pick Use Internet Audio or Use Device Audio and possibly grant permission to use your device’s microphone and camera. Once your appointment has ended, click on the red End button to end the call.